A mixed-product gift set is a system, not a large box with several holes. Each component changes the occupied envelope, weight distribution, assembly and unboxing path. The structural brief must therefore describe the loaded set before the exterior.
Buyer answer: The correct sequence is to freeze every item's finished size, weight, orientation, fragile and contact surfaces, and removal order; design the insert and box around the full loaded set; separate presentation from transit protection; then validate a white sample and a loaded sample before production. This ties structural approval to the real pack, not merely the largest item or an empty outer box.
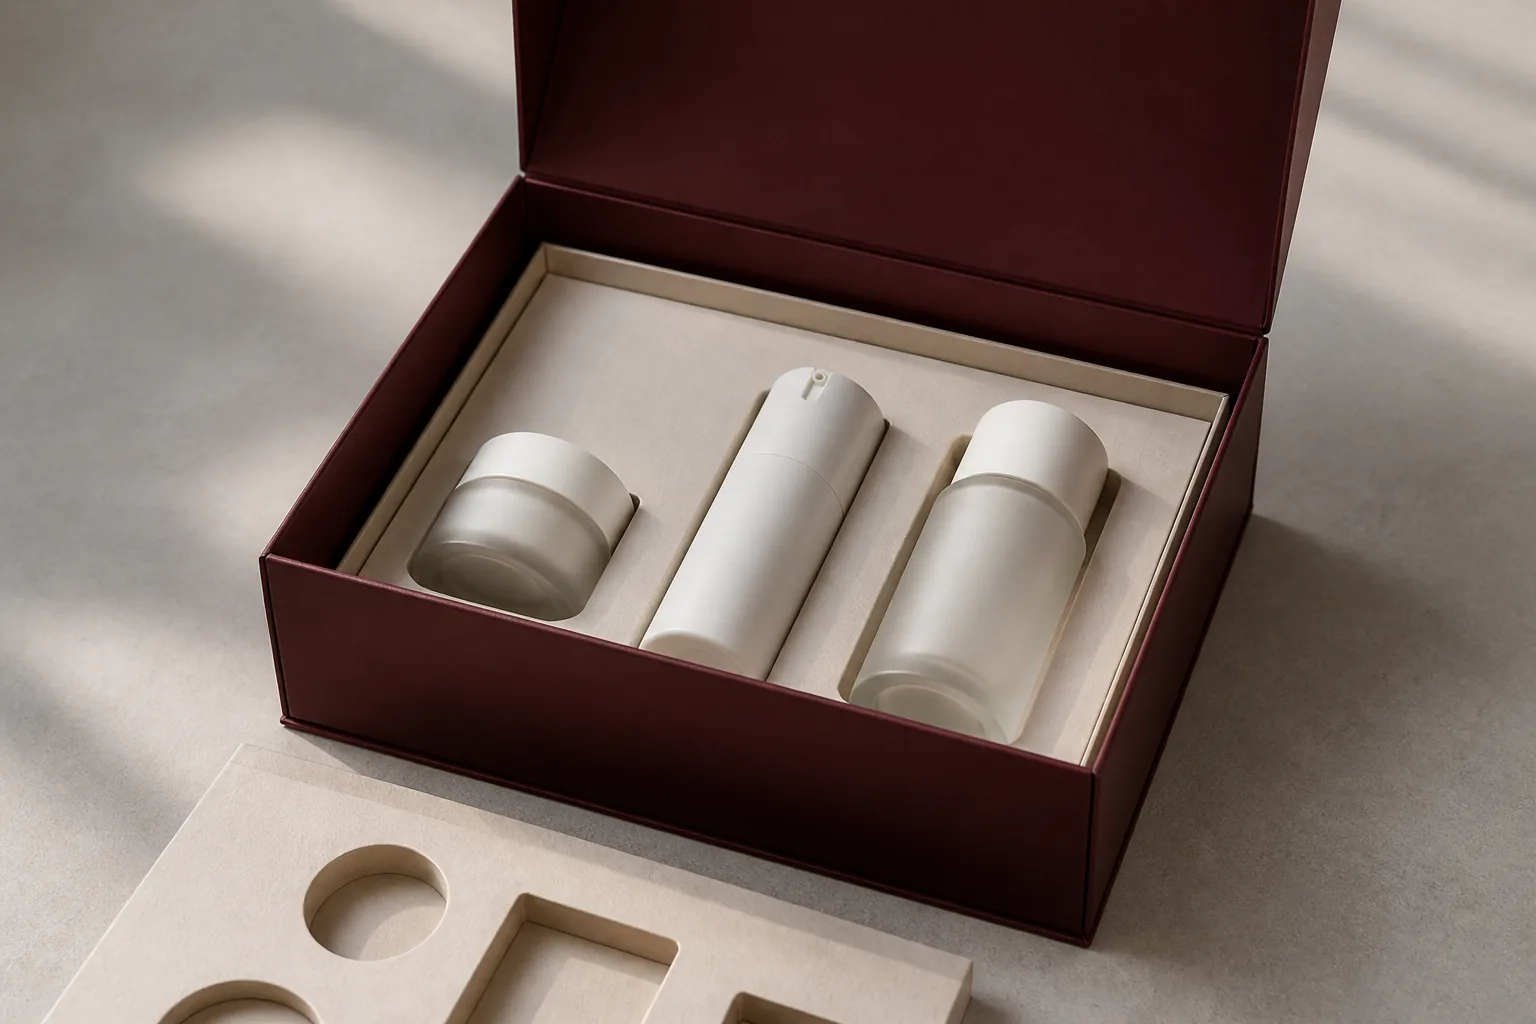
Define the structural decision boundary
Begin with controlled product data. Record each item's maximum finished dimensions, filled weight, display face, allowed rotation, fragile zones, no-contact surfaces, closure clearance and removal access. Use physical products where possible; otherwise identify the drawing revision and dimensions awaiting confirmation.
The maximum envelope includes orientation, separation, retaining tabs and finger access—not just the tallest item. Center of mass also matters because the arrangement can feel unbalanced or load one insert zone heavily. Confirm these points in a prototype rather than a rendering.
Decide what the presentation pack must do. A corporate gift set box can organize the reveal, while a corrugated shipper and cushioning may be needed for a parcel route. Define that route and validate the complete product-plus-package system to a project-specific plan.
Run procurement through evidence gates
- Freeze the set manifest. Give each component a name, sample or drawing revision, finished dimensions, filled weight and quantity per set.
- Map orientation and opening order. Show what appears first, which item leaves first, label direction, finger access and prohibited contact.
- Choose a layout family. Compare one plane, two levels, a drawer or removable tray, and modular inserts against footprint, weight, depth and packing method.
- Approve a structural white sample. Check fit, retention, lid clearance, opening, insert deflection and pack-out. Record the sample and drawing revisions.
- Approve a loaded sample. Review actual filled products, the intended insert and presentation box. If parcels are in scope, include the proposed distribution packaging.
- Release artwork against the approved structure. Use a printed sample to judge color, finish and copy position. Structural, loaded and print approvals answer different questions.
Record the drawing, sample and product revisions, issues, owner and disposition. When a product changes, return to the affected gate. The pre-production sample checklist helps define what each approval proves.
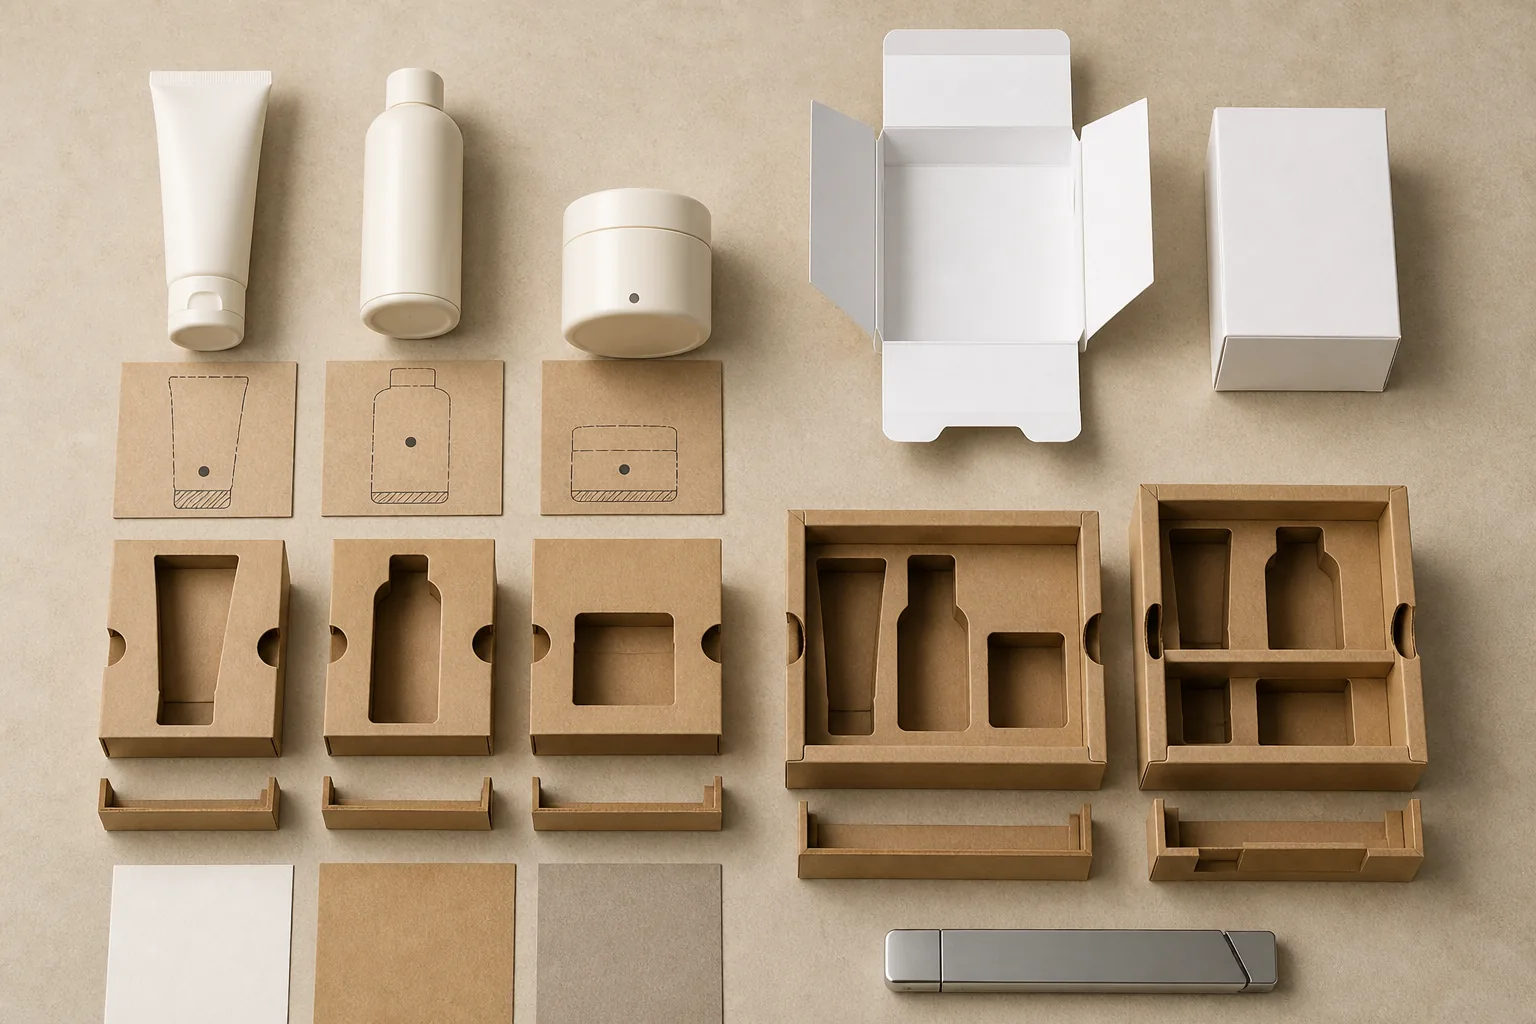
Compare layout systems before selecting one
| System | Use when | Operational effect | Failure to check | Approval evidence |
|---|---|---|---|---|
| Single-level | Every item should be visible at opening and the footprint is acceptable. | Simplifies visual inspection and usually gives direct picking and replacement paths. | Deep products may drive unnecessary box depth; light and heavy items may be arranged poorly. | Loaded sample shows stable retention, balanced lift, label orientation and finger access. |
| Two-level | The set needs a smaller footprint or a second reveal for accessories or literature. | Adds a removal step and requires a clear method for lifting the upper tray without disturbing the lower level. | Hidden items, tray sag, lid interference, trapped fingers and an unclear packing sequence. | White and loaded samples demonstrate tray support, lift points, order of access and lower-level clearance. |
| Drawer or tray | Sequential reveal, repeat access or separation between product groups is important. | Introduces a sliding interface, pull feature and stop or retention decision. | Excess sliding friction, accidental release, product movement, pull obstruction or an awkward re-pack. | Repeated sample openings show controlled travel and access with the complete loaded weight. |
| Modular-insert | Several planned set combinations may share one outer box while defined modules change. | Reduces outer-box variants but adds module identification, inventory and kitting control. | Wrong module selection, gaps between modules, incompatible revisions or unused volume. | Each approved set configuration has a manifest, module drawing and loaded fit sample. |
Insert material is a separate decision. Compare paperboard, corrugated, molded pulp and foam against weight, surface sensitivity, geometry, disposal brief and distribution role. The packaging insert comparison guide is a starting framework; final selection belongs to the pack specification.
Worked example: three hypothetical skincare containers
Consider a hypothetical, unbranded set: a 145 mm pump container, a 103 mm dropper container and a 58 mm cream jar. Their diameters, filled weights and closures would be measured from controlled samples; this is not a customer project or production result.
Map each maximum envelope, including the pump head and dropper cap. Standing all three upright may make the pump determine box depth. Laying one down may reduce depth only if its closure, label face and handling requirements allow that orientation.
Then place the filled center of mass. If the jar is heaviest, an outer-corner position may make the pack feel lopsided and load that insert zone. A central position might improve balance, but the loaded sample must confirm it. Keep fragile and no-contact surfaces away from tabs and adjacent products.
Finally, design removal. The jar may need two finger scallops, the pump a shoulder cutout or ribbon, and the dropper access that avoids pulling its cap. These clearances enlarge the functional cavity. Compare single- and two-level samples using the same product revisions, then approve against envelope, center of mass, orientation, opening order and pack-out. This method does not claim one arrangement suits every skincare set.
RFQ checklist for a comparable structural quote
Send one controlled brief with the following inputs:
- Finished physical product samples or controlled drawings for every item.
- Maximum finished dimensions and filled weight for each product.
- Fragile, scratch-sensitive, leakage-sensitive and no-contact surfaces.
- Quantity of each item in one set and every approved set configuration.
- Required orientation, label direction, opening sequence and removal method.
- Whether the presentation box is for retail display, parcel distribution or both, including any separate shipper brief.
- Insert preference, if any, plus material or disposal constraints that need confirmation.
- Destination, order quantity and the units in which the quote should be compared.
- Current artwork files, print and finish intent, and areas that must remain clear.
- The sample stages, acceptance checks and approvers required before production release.
Ask the supplier to return proposed dimensions, insert construction, component count and sample scope on the quotation or drawing, with provisional items labeled. Use the LuxoPack quote form to send the controlled set details.
Have a mixed-size gift set to structure?
Share the controlled product drawings or samples, filled weights, required orientation, set quantity and distribution role. The next useful conversation is about the insert, outer box and approval gates as one loaded system.
Discuss my gift set structureSources and evidence boundary
Two Reddit discussions record buyer questions: one asks about a two-layer pack for different-size products; another asks about a box versus multipack dieline. They are question signals only, not capability or performance evidence.
ISTA's packaged-product retesting guidance says relevant protocols may need repeating when product, package or process changes—including configuration, dimensions, mass, center of gravity, interior packaging, components or distribution system. If performance impact is uncertain, ISTA says to retest. This supports a product-plus-package approval boundary; it does not prove a test result or prescribe one universal protocol.
Frequently Asked Questions
Related next steps: review gift set box structures, compare insert materials, prepare the sample approval record, or request a structural quote.